On this page
Hiking boots should fit snugly around your heel and midfoot, with little or no heel lift as you walk, and leave about a finger’s width of space in front of your longest toe. Your toes should wiggle freely and never hit the front on a downhill. The boot should feel secure without pinching, pressure points or numbness anywhere.
Fit matters more than any feature on the spec sheet. A boot with the best materials in the world will still cause blisters and black toenails if it is the wrong shape for your foot. This explainer covers what a good fit feels like, how to measure and try on boots, how to test them before you commit, how lacing changes the fit and which warning signs mean you should try a different size or model.
Key takeaways
- Look for a snug heel, a secure midfoot and roomy toes, roughly a finger’s width from the end.
- Try boots on later in the day, wearing the socks you will actually hike in.
- Test on a slope or ramp: your toes should not hit the front going downhill.
- Small heel lift of a few millimeters is normal; your heel sliding up and down is not.
- Width matters as much as length. Pressure on the sides is a sign to try a wider fit.
- Lacing techniques can fix minor fit issues, but they cannot fix the wrong size or shape.
What does a good hiking boot fit feel like?
A good hiking boot fit feels secure but comfortable from the moment you lace up. Your heel stays locked in place, the midfoot feels evenly hugged without tight spots, and your toes have room to spread and wiggle. There should be no pinching, rubbing or numbness, and you should not feel your foot sliding forward as you walk.
Think of the boot in three zones, because each one should feel different.
| Zone | What a good fit feels like | Signs of a poor fit |
|---|---|---|
| Heel | Locked in, minimal lift when walking | Heel slides up and down, rubbing at the back |
| Midfoot and arch | Snug, even pressure across the top | Tight band, pressure on the sides, loose and sloppy |
| Toe box | Room to wiggle and spread toes | Toes touch the front or sides, cramped feeling |
| Ankle collar | Supportive, no digging in | Pressure on ankle bones, gaps at the top |
| Overall length | About a finger’s width in front of longest toe | Toes hit the end, or foot slides far forward |
A boot that feels “fine” in the store can feel different after several miles, especially as your feet warm up and swell. That is why careful testing before you buy is worth the time.
How much toe room should hiking boots have?
Hiking boots should have about a finger’s width of space, often described as roughly half an inch, between your longest toe and the end of the boot. This room lets your feet swell and move forward slightly on descents without your toes jamming into the front. Too little space causes bruised toes, and too much lets your foot slide around.
To check toe room before lacing:
- Loosen the laces fully and slide your foot forward until your toes touch the front.
- Slide a finger down behind your heel. One finger should fit snugly. If you can fit two easily, the boot may be too long. If you cannot fit one, it may be too short.
- Lace up and stand. Your toes should not touch the front when standing flat.
- Wiggle your toes. They should move freely up and down and side to side.
Your longest toe may not be your big toe. Many people have a second toe that is slightly longer, so check the toe that reaches farthest.
How do you check heel fit and heel lift?
Heel fit is right when your heel stays mostly in place as you walk, with only a small amount of lift. A few millimeters of movement is normal in stiffer new boots. If your heel slides up and down noticeably or rubs at the back of the ankle, the fit is too loose or the shape is wrong.
Heel slip is one of the most common causes of blisters on the back of the foot. To test it:
- Lace the boots firmly, especially around the ankle.
- Walk normally for a few minutes on a flat floor.
- Walk up a slope or stairs, where heel lift shows up most.
- Pay attention to any rubbing or hot spots at the back of the heel.
If your heel lifts too much, try a heel lock lacing technique (explained below), a thicker sock or a different insole. If none of these help, the heel cup may simply be too wide for your foot. Try a different size or model rather than hoping it will improve.
How tight should hiking boots be around the midfoot and width?
Hiking boots should feel snug and even around the midfoot, with no single tight spot and no loose space where your foot can roll. The width should let the ball of your foot sit flat without pressure on the sides. If the boot squeezes your foot from side to side, it is too narrow, even if the length is right.
Width is often overlooked. Many people size up in length to get more width, which leaves too much room at the toes and causes sliding. A better approach is to look for boots offered in wide or narrow versions.
Signs the width is wrong:
- Pressure or pain along the outside of your little toe
- Pressure along the inside of your big toe joint
- The upper bulging out over the sole at the sides
- Your foot feeling like it can roll inside the boot on uneven ground
Foot shape also matters. Some boots have a higher volume above the foot, which suits high arches or high insteps. Others are lower volume. If you feel pressure across the top of your foot when laced, a different lacing pattern or a lower volume boot may help.
How do you measure your feet for hiking boots?
To measure your feet for hiking boots, stand on a piece of paper later in the day while wearing hiking socks, mark the tip of your longest toe and the back of your heel, then measure the length. Measure both feet, because one is often slightly larger. Use the larger foot as your guide when choosing a size.
You can also measure width at the widest part of your forefoot. Many outdoor retailers have a foot measuring device and staff who can measure both length and width for you.
Keep in mind that sizes are not consistent across brands, or sometimes even across models from the same brand. A measurement gives you a starting point, but the try on is what tells you whether a boot fits.
Tip: Measure and try on boots in the afternoon or evening. Feet tend to swell during the day and on the trail, so a boot that fits in the morning can feel tight by the end of a hike.
How should you try on hiking boots?
To try on hiking boots properly, go later in the day, bring the socks and any insoles you plan to use, lace the boots fully and walk for at least several minutes. Test on stairs or an incline ramp if the store has one. Try both boots, try more than one size and compare several models side by side.
Follow this try on routine:
- Wear your hiking socks. The thickness of your socks changes the fit significantly. Our guide on how to choose hiking socks explains cushioning and materials.
- Bring your insoles or orthotics if you use them.
- Check length before lacing using the finger behind the heel test.
- Lace both boots fully, snug around the ankle but not tight enough to cut off circulation.
- Stand and wiggle your toes. Check the width and look for any pressure.
- Walk around for several minutes. Notice hot spots, rubbing or pinching.
- Walk up and down a ramp or stairs. Watch for heel lift going up and toe bumping going down.
- Try a half size up and down to compare, even if the first pair feels good.
- Take your time. Many stores let you wear boots around for a while before deciding.
If you are buying online, check the return policy first and test indoors on carpet so the boots stay clean and returnable.
How do you test hiking boots on a downhill?
To test hiking boots on a downhill, lace them firmly and walk down a ramp, slope or stairs at a normal pace, then stop suddenly. Your toes should not touch or jam into the front of the boot. If they do, the boots may be too short, too loose around the ankle or need tighter lacing across the instep.
Downhills are where poor fit shows up. Long descents push your feet forward with every step, and toes that repeatedly hit the front can become bruised or lose toenails.
If your toes hit the front:
- Tighten the laces across the instep and ankle to hold your heel back.
- Try a heel lock lacing technique.
- Try a half size larger and repeat the test.
- Consider a model with a different shape in the toe box or heel.
How does lacing change the fit of hiking boots?
Lacing changes the fit of hiking boots by controlling how firmly different parts of the boot hold your foot. Tighter lacing at the ankle locks your heel in place, while looser lacing over the toes gives more room. Simple techniques like heel lock and window lacing can relieve pressure points and reduce heel lift.
Common lacing techniques:
| Technique | What it does | When to use it |
|---|---|---|
| Heel lock | Locks the heel into the back of the boot | Heel lift, toes hitting the front on descents |
| Window lacing | Skips a crisscross to remove pressure | Pressure or pain across the top of the foot |
| Surgeon’s knot | Holds tension at a set point | Different tightness for forefoot and ankle |
| Loose forefoot | Relaxes the lower laces | Wide forefoot or toe pressure |
To tie a heel lock, lace normally to the second to last eyelet or hook, then thread each lace through the top eyelet on the same side to form a small loop. Cross the laces and pass each through the opposite loop, then pull down and tie as usual.
Lacing can fine tune a boot that is close to the right fit. It cannot make a boot that is too short, too narrow or the wrong shape fit well.
Should hiking boots be a size bigger than your shoes?
Hiking boots are often a half size bigger than everyday shoes, but not always. The extra room helps with thicker socks and foot swelling on longer hikes. Do not size up automatically. Measure your feet, try on boots with your hiking socks and choose the size that passes the toe room, heel and downhill tests.
Several factors affect the right size:
- Sock thickness: Thick cushioned socks take up more space than thin liners.
- Foot swelling: Feet often swell on long or hot hikes.
- Brand sizing: One brand’s size 9 can fit very differently from another’s.
- Insoles: Aftermarket insoles can take up more volume than the stock insert.
- Use: Boots for long days with a heavy pack may need slightly more room than boots for short walks.
If you are still deciding on the type of footwear, our comparison of hiking boots vs. trail shoes explains the trade-offs. For a lighter option, see our guide on how to choose trail running shoes for hiking, where fit principles are similar but the shoes are more flexible.
Does a waterproof membrane affect boot fit?
A waterproof membrane does not usually change the size you need, but it can change how the boot feels. Waterproof boots tend to feel warmer and may feel slightly stiffer, and feet can swell more when they are hot. If you choose waterproof boots, make sure the fit still allows good toe room and airflow around your foot.
Membranes such as Gore-Tex are well known examples of waterproof breathable layers inside the upper. They help keep water out, but they also limit how quickly sweat escapes. For hot, dry hikes, some people prefer non waterproof boots that breathe better.
Our guide to waterproof vs non-waterproof hiking shoes covers when each type makes sense.
What are the signs your hiking boots do not fit?
Signs your hiking boots do not fit include toes hitting the front on descents, heel slipping up and down, blisters in the same spot every hike, numbness or tingling, pressure on the sides of your foot and black or bruised toenails. Persistent pain is always a warning sign.
| Symptom | Likely cause | What to try |
|---|---|---|
| Bruised or black toenails | Boots too short or foot sliding forward | Longer size, heel lock lacing |
| Blisters at the heel | Heel slip | Heel lock, thicker socks, different heel shape |
| Pain on sides of foot | Boots too narrow | Wider version or different model |
| Numbness on top of foot | Laces too tight or high instep | Window lacing, looser top laces |
| Arch pain | Poor arch support | Supportive insole, different model |
| Foot rolls inside the boot | Too wide or too much volume | Narrower version, thicker sock |
Some stiffness is normal with new boots and usually eases with time. Our guide on how to break in hiking boots explains how to do that safely. But real pain, pinching or numbness that does not improve means the fit is wrong. If you have ongoing foot pain, bunions or other foot conditions, a podiatrist or experienced boot fitter can help.
What are the most common hiking boot fit mistakes?
The most common hiking boot fit mistakes are buying the same size as your street shoes without testing, trying boots on in the morning, wearing thin socks to the store, ignoring width, skipping the downhill test and expecting break in to fix a poor fit. Each mistake is avoidable with a careful, unhurried try on.
Avoid these:
- Buying by size alone. Always try the boot, not just the number.
- Testing too briefly. Walk for longer than a quick lap of the store.
- Ignoring one foot. Fit the larger foot, then adjust the other with lacing or socks.
- Chasing a look or feature. Fit comes before color, brand or features.
- Hoping boots will stretch. Leather can soften, but length and basic shape do not change much.
Your next step
Measure both feet, grab your hiking socks and try on several boots late in the day. Once you have a pair that fits, wear them on easy walks first, then use our beginner hiking guide to plan a short first outing. For more help comparing styles and materials, see our guide on how to choose hiking boots.
Frequently asked questions
Should hiking boots be tight or loose?
Hiking boots should be snug, not tight or loose. Your heel and midfoot should feel secure, with minimal heel lift, while your toes have room to wiggle and spread. If boots squeeze, pinch or cause numbness, they are too tight. If your foot slides forward or your heel lifts noticeably, they are too loose.
How do I know if my hiking boots are too small?
Hiking boots are too small if your toes touch the front while standing, jam into the end on downhills, or feel cramped when you wiggle them. Other signs include pressure on the sides of your feet and bruised toenails after hikes. Try a half size larger and repeat the downhill test.
Is heel slip normal in new hiking boots?
A small amount of heel lift, a few millimeters, is normal in new hiking boots, especially stiffer models that have not been broken in. Noticeable sliding or rubbing at the back of the heel is not normal. Try a heel lock lacing technique or thicker socks, and consider a different size or heel shape if it continues.
Can you stretch hiking boots that are too tight?
Leather hiking boots can soften and stretch slightly in width, and some shops can stretch specific pressure points. Synthetic boots stretch very little. Length does not change in any meaningful way, so boots that are too short will not become comfortable. It is usually better to exchange boots that are clearly too tight.
Should I wear thick socks when trying on hiking boots?
Wear the exact socks you plan to hike in when trying on boots. If you usually hike in thick cushioned socks, bring them. If you use thinner socks or liners, wear those instead. Sock thickness changes the fit noticeably, so testing with different socks can lead to buying the wrong size.
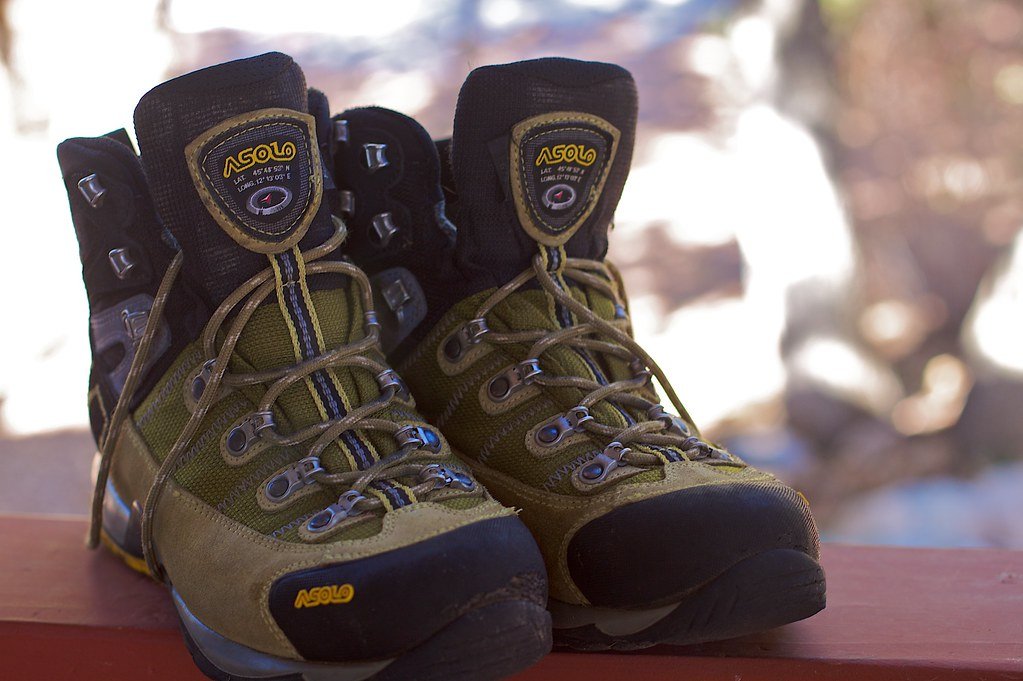
Featured photo: cogdogblog via Openverse (CC0).