On this page
To hike uphill with less effort, slow down to a steady pace you can breathe through, take shorter steps, keep your weight over your feet and use trekking poles if you have them. To hike downhill with less effort, keep your knees soft, shorten your stride, control your speed and place your feet deliberately. Small technique changes save a lot of energy.
Hills are where most beginner hikers feel the strain. Climbs leave you out of breath and descents can make your knees and toes ache. The fix is rarely more fitness alone. It is mostly pacing, foot placement and a few simple habits. This guide breaks down uphill and downhill technique, gear adjustments and training ideas so steep trails feel more manageable.
Key takeaways
- Climb at a pace slow enough that you can still talk in short sentences, and keep it steady rather than stopping and starting.
- Take shorter steps on steep ground, both uphill and downhill.
- Try the rest step on long climbs: a brief pause on a straight back leg between steps.
- On descents, bend your knees, look ahead and slow down before the trail gets steep.
- Adjust trekking poles shorter for climbs and longer for descents.
- Build hill strength gradually with hills, stairs and simple leg exercises.
How do you hike uphill without getting tired?
To hike uphill without getting so tired, choose a slow, steady pace you can keep without gasping, take short steps, breathe in a regular rhythm and lean slightly forward from your ankles. Avoid charging up a slope and then stopping to recover. A consistent effort uses energy more efficiently than bursts of speed.
Find a sustainable pace
A good uphill pace is one where you can still speak in short sentences. If you cannot, slow down. Many hikers find that a slower, unbroken pace gets them to the top in about the same time as rushing and resting, with far less fatigue.
Shorten your steps
Short steps keep your center of gravity over your feet and reduce how hard your legs work with each move. On very steep ground, steps may only be a little longer than your foot.
Breathe in rhythm
Match your breathing to your steps, for example breathing in for two steps and out for two steps. Find a rhythm that feels natural and adjust it as the slope changes.
Use your posture
Stand tall with a slight forward lean from the ankles, not a hunch from the waist. Keep your head up so you can see the trail ahead. Hunching makes breathing harder and loads your back.
If you are new to hiking, our beginner hiking guide covers pacing and planning on easier trails before you tackle big hills.
What is the rest step and how do you use it?
The rest step is a mountaineering technique for long, steep climbs where you briefly pause on a straight back leg between steps. Locking that leg lets your skeleton hold your weight for a moment, so your muscles get a tiny rest. It turns a hard climb into a slow, steady rhythm you can keep up for longer.
How to do the rest step:
- Step up with your front foot, keeping your weight on your back leg.
- Straighten your back leg so your weight rests on bone rather than muscle.
- Pause for a brief moment, relaxing your front leg.
- Shift your weight forward onto the front foot and straighten it.
- Bring your back foot up and repeat, pausing on the new back leg.
- Breathe in rhythm with the pauses.
The pause can be very short on moderate slopes and longer on steep ones. It feels slow at first, but it helps you climb without stopping as often.
How should you place your feet on steep climbs?
On steep climbs, place your feet on flat, stable spots where possible, put your whole foot down rather than just your toes, and step onto rocks and roots that give a level platform. On loose ground, kick small steps or angle your feet slightly. Thoughtful foot placement saves energy and reduces calf strain.
- Flat foot when you can: walking on your toes tires your calves quickly.
- Use natural steps: rocks, roots and ledges can make the climb easier if they are stable.
- Turn your feet out slightly: on very steep ground, a gentle duck footed stance can help your boots grip.
- Zigzag on open slopes: a slightly diagonal line can be easier than straight up, but stay on the trail and never cut switchbacks.
- Test loose rock: put a little weight on it before committing.
Switchbacks exist to make climbs easier and protect the slope from erosion. Cutting them damages the trail. Our guide on how to hike responsibly on busy trails explains why staying on the path matters.
How do you hike downhill without hurting your knees?
To hike downhill with less strain on your knees, keep your knees slightly bent, take shorter steps, control your speed, and land with your foot under your body rather than reaching out in front. Use trekking poles to share the load. If you have existing knee problems, talk to a doctor or physical therapist before long, steep descents.
Keep your knees soft
Locked knees take the full jolt of each step. A slight bend lets your leg muscles absorb the impact. Think of moving smoothly rather than dropping from step to step.
Shorten your stride
Long downhill strides increase impact and make it easier to slip. Short, quick steps keep you balanced and in control.
Control your speed
Slow down before a steep section, not halfway through it. If you feel yourself speeding up, take smaller steps or zigzag slightly within the trail.
Look ahead
Scan a few steps ahead so you can choose where to put your feet. Watching only your boots makes it harder to plan a smooth line.
Lean slightly forward, not back
It feels natural to lean back on a descent, but that pushes your feet out in front and can lead to slips. Keep your weight centered over your feet, with a slight bend at the hips and knees.
How do trekking poles help on hills?
Trekking poles help on hills by sharing the work between your arms and legs on climbs and by taking some impact off your knees on descents. They also improve balance on uneven or loose ground and stream crossings. Adjust them shorter for uphill and longer for downhill so your arms stay in a comfortable position.
| Situation | Pole length tip | How to use them |
|---|---|---|
| Flat trail | Elbows bent at roughly a right angle | Walk naturally, plant opposite to your step |
| Uphill | Shorten slightly | Plant ahead and push down as you step up |
| Downhill | Lengthen slightly | Plant ahead to brace and control speed |
| Traverse across a slope | Uphill pole shorter, or grip it lower | Keep both poles at a comfortable height |
| Loose or rocky ground | Normal length | Use for balance and testing footing |
Use the wrist straps correctly, so your hand comes up through the loop and rests on the strap. That lets you push down without gripping hard. On scrambles where you need your hands, collapse the poles and stow them on your pack.
What should you wear and carry for hilly hikes?
For hilly hikes, wear footwear with good grip, socks that fit well, and layers you can adjust as you heat up on climbs and cool down on descents. Carry enough water and snacks, because climbs burn more energy. A well fitted pack with the hip belt snug keeps weight stable on steep ground.
Footwear and lacing
Grip matters on both climbs and descents. Our guide on hiking boots vs trail shoes explains how each handles steep terrain. Before a long descent, retighten your laces over the top of your foot so your foot does not slide forward and bang your toes against the front of the shoe. Keeping toenails trimmed helps too.
Layers
You will warm up fast on a climb and cool off at the top, especially in wind. Remove a layer before you start climbing, then add it back at the summit. Our guide on what to wear hiking explains how to dress for changing effort.
Water and food
Climbs make you sweat more and burn more energy. Sip water regularly and eat small snacks often rather than waiting until you feel drained. See how much water to bring on a hike and what to eat before and during a hike for planning tips.
Pack fit
A loose pack sways on steep ground and throws off your balance. Tighten the hip belt so it carries most of the weight, and snug the shoulder and load lifter straps. Our guide on how to fit a hiking backpack shows how.
Tip: Stop for a quick lacing and layer check at the bottom of every big climb and the top of every big descent. It takes a minute and prevents a lot of discomfort.
How do you train for uphill and downhill hiking?
To train for uphill and downhill hiking, hike hills regularly, add stair climbing or step ups, and build leg strength with simple exercises such as squats, lunges and calf raises. Practice descents too, because they use your muscles differently. Increase distance and elevation gradually, and give your body time to recover between harder sessions.
A simple approach:
- Add one hilly walk or hike to your week, starting with gentle slopes.
- Use stairs or a steep street for short repeated climbs.
- Add bodyweight exercises such as squats, step ups, lunges and calf raises a couple of times a week.
- Practice controlled descents, focusing on short steps and soft knees.
- Carry a light pack on training hikes, then increase the weight slowly if you plan to backpack.
- Increase total climbing gradually rather than jumping to big mountains.
If you have joint problems, heart or lung conditions, or are returning from injury, check with a health professional before starting a new training plan. Our guide on how to start walking for exercise is a gentle place to begin.
How do you plan hikes with lots of climbing?
Plan hikes with lots of climbing by checking the total elevation gain, not just the distance, and allowing extra time for climbs and steep descents. Choose a route that matches your current fitness, start early to avoid heat, and set a turnaround time. Hills slow everyone down, so build that into your plan.
- Check elevation gain: a short trail with a big climb can take longer than a longer flat one. Our guide on how long it takes to hike a mile explains how hills affect timing.
- Choose the right trail: see how to choose a hiking trail for your level.
- Start early: climbing in the heat of the day is harder and riskier. See heat safety for hikers.
- Watch the weather: exposed ridges and summits are no place to be in storms.
- Set a turnaround time: turn back at that time even if you have not reached the top.
What are common mistakes on uphill and downhill trails?
Common mistakes on uphill and downhill trails include starting too fast, taking long strides, stopping and starting constantly, leaning back on descents, locking the knees, wearing loosely laced shoes, and skipping water and snacks. Most of these are easy to fix with a slower pace, shorter steps and a quick gear check.
- Starting too fast: the first climb sets the tone for the whole day.
- Long strides: they tire you on climbs and jar you on descents.
- Constant stop and go: a steady slow pace beats sprinting and resting.
- Leaning back downhill: it pushes your feet out and makes slips more likely.
- Locked knees: they absorb more impact.
- Loose laces on descents: sore toes follow.
- Running out of fuel: eat and drink before you feel drained.
Frequently asked questions
Why is hiking uphill so hard?
Hiking uphill is hard because you lift your body weight, and your pack, with every step, which makes your heart, lungs and leg muscles work harder. A slower, steady pace, shorter steps, rhythmic breathing and regular snacks make it much more manageable. Fitness improves with regular hill walking over time.
Is hiking downhill harder on your knees?
Downhill hiking often feels harder on the knees because your leg muscles work to brake each step and the joints absorb impact. Short steps, soft knees, a controlled pace and trekking poles can reduce the strain. If you have knee pain or a past injury, ask a doctor or physical therapist for personal advice.
Should I use trekking poles for hills?
Trekking poles are very helpful on hills for many hikers. They let your arms share the effort on climbs, help with balance on loose ground and can reduce strain on descents. Shorten them slightly for climbs and lengthen them for descents, and use the wrist straps so you can push without gripping hard.
How can I breathe better when hiking uphill?
Slow your pace until your breathing feels steady, then match your breaths to your steps in a regular rhythm. Stand tall rather than hunching so your chest can expand. If you are gasping, take a brief pause. If you feel chest pain, dizziness or unusual breathlessness, stop and seek medical help.
Sources and further reading
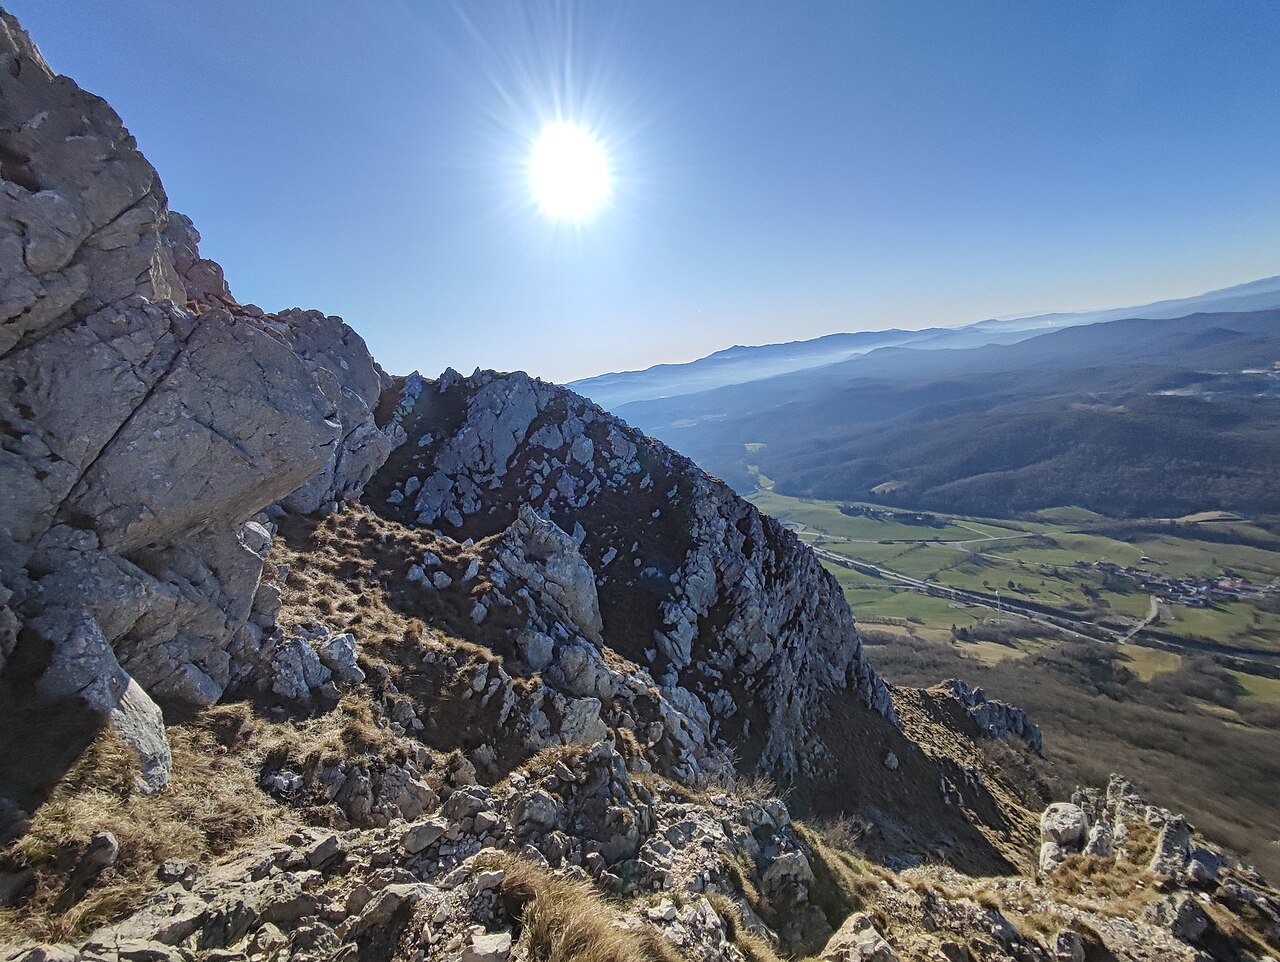
Featured photo: Ajznponar via Openverse (CC0).