On this page
To set up a tent, choose flat, clear ground, lay down a footprint, spread the tent body on top, assemble the poles and attach them to the tent, then stake the corners, add the rainfly and tighten the guylines. Most dome tents follow this same order, and a practice run at home makes the first real pitch much easier.
This guide walks you through each step for a typical freestanding dome tent, the most common style for beginners. It also explains how other tent types differ, how to pitch in wind or rain, how to get the fabric tight so it sheds water, and how to take the tent down and pack it so it is ready for next time.
Key takeaways
- Practice setting up your tent at home before your first trip, so you know every part.
- Pick flat, slightly raised ground clear of sticks, stones and dead branches overhead.
- Use a footprint or groundsheet slightly smaller than the tent floor so it does not catch rain.
- Stake the corners firmly at an angle, then add the rainfly and tension the guylines.
- In wind, stake the windward side first and keep the tent attached to the ground at all times.
- Pack the tent dry, or dry it fully at home, to prevent mildew.
What are the basic steps to set up a tent?
The basic steps to set up a tent are: choose and clear your site, lay down the footprint, unfold the tent body, assemble the poles, attach the poles to the tent with clips or sleeves, raise the tent, stake the corners, attach the rainfly, and tighten the guylines. A typical dome tent follows this order.
Here are the steps at a glance. Each one is explained in detail below.
- Choose a flat, safe campsite.
- Clear the ground of sticks, pine cones and stones.
- Lay down the footprint or groundsheet.
- Spread out the tent body on top, door facing the way you want.
- Assemble the poles.
- Attach the poles to the tent.
- Raise the tent into shape.
- Stake down the corners.
- Attach the rainfly.
- Stake and tighten the guylines.
Tip: Before your trip, set the tent up in a backyard or park and time yourself. Practice without pressure means you will not be learning the parts at dusk or in the rain.
Where should you pitch a tent?
Pitch a tent on flat, slightly raised ground that drains well, away from low spots where water collects, dead branches overhead and the edge of rivers or lakes. Use an established tent pad if the campground has one. Check the wind direction so the door faces away from it, and leave room for stakes and guylines.
Good site choice prevents most tent problems, from puddles under the floor to a noisy, flapping night. Our guide on how to choose a campsite explains drainage, shade and privacy in more detail.
- Flat ground: a slight slope is fine if your head is uphill.
- Clear surface: remove anything that could poke the floor or your back.
- Drainage: avoid dips and gullies that could flood.
- Overhead check: look up for dead branches, sometimes called widowmakers.
- Wind: use natural windbreaks like shrubs or boulders where possible.
- Rules: camp only in permitted spots, and in the backcountry keep a respectful distance from water and trails.
How do you lay out the footprint and tent body?
Lay the footprint flat on the cleared ground with its coated side facing up if it has one, then spread the tent body on top with the floor matched to the footprint’s corners. The footprint should be slightly smaller than the tent floor, because any edge that sticks out can catch rain and channel it underneath.
If you use a tarp instead of a matching footprint, fold the edges under so none of it shows beyond the tent floor. Turn the tent so the door faces where you want it, usually away from the wind and toward the view or your camp kitchen.
Some tents let the footprint and fly be pitched together first, which helps keep the inner tent dry in rain. Check your tent’s instructions to see if this option is available.
How do you assemble and attach the tent poles?
Assemble tent poles by unfolding each one and letting the shock cord pull the sections together, then pressing every joint fully closed. Attach the poles to the tent body using the clips or sleeves, and seat each pole end into the grommets or pins at the tent corners. Color-coded poles and corners make matching easier.
Many dome tents use two main poles that cross in an X over the center. Some add a shorter brow pole across the top to widen the roof.
- Unfold each pole and check that every section is fully seated.
- Lay the poles across the tent in the shape shown in the instructions.
- Insert pole ends into the grommets or pins at each corner.
- For a clip style tent, the poles will bow up as you insert the second end. Clip the tent body to the poles from the bottom up.
- For a sleeve style tent, push the poles through the sleeves rather than pulling them, which can separate sections.
- Check that the tent stands evenly, with no twisted or loose pole sections.
Never force a pole that feels stuck. Bent or cracked poles are one of the most common tent repairs.
How do you stake a tent properly?
Stake a tent by pulling each corner gently outward so the floor is flat and square, then pushing the stake into the ground at roughly a 45-degree angle, with the top leaning away from the tent. Stake opposite corners in turn so the floor stays even. Push stakes in fully so the loop sits low.
| Ground type | Staking approach |
|---|---|
| Soft soil or grass | Standard stakes push in easily, angle them away from the tent |
| Hard or rocky ground | Use a mallet or rock gently, try a nearby spot if a stake hits stone |
| Sand | Wider sand stakes, or bury a stuff sack filled with sand as an anchor |
| Snow | Snow stakes or buried anchors, packed firm |
| Wooden platform | Tie lines to platform hooks or eyelets |
Use your foot or a flat rock to push stakes in rather than hitting them hard. If a stake will not go in, move it slightly rather than bending it.
How do you attach the rainfly?
Attach the rainfly by draping it over the tent so its door lines up with the tent door, then fastening the corner buckles or straps to the tent corners. Secure any Velcro tabs on the underside to the poles, then tighten the straps until the fly is taut and does not touch the inner tent anywhere.
A gap between the fly and the inner tent lets air circulate and stops condensation from soaking through. If the fly sags onto the inner tent, moisture can wick inside.
- Line up the fly door with the tent door before you buckle anything.
- Fasten opposite corners first to keep the fly centered.
- Attach the Velcro wraps to the poles to stop the fly shifting in wind.
- Open the fly vents to reduce condensation.
- Stake out vestibules so they create a covered space for boots and packs.
How do you use guylines to keep a tent stable?
Guylines are the cords attached to loops on the rainfly. Stake them out and tighten them to hold the tent steady in wind, keep the fly away from the inner tent and help rain run off. Run each guyline in line with the seam it is attached to, and stake it a few feet out from the tent.
Most guylines have a small tensioner that slides along the cord. Pull it to tighten after staking, and adjust again after the first hour, because nylon fabric often loosens as it cools or gets damp.
Guyline steps
- Find the guyline loops on the fly, usually halfway up the sides.
- Pull each line out in line with the tent seam.
- Stake it at an angle, away from the tent.
- Slide the tensioner to make the line taut but not straining.
- Check that the fly is smooth, with no wrinkles or sagging.
How do different tent types set up?
Different tent types set up in slightly different ways. Dome tents use crossing poles and are usually freestanding. Tunnel tents use parallel hoops and need staking to stand. Instant or pop-up tents have poles already attached and unfold quickly. Cabin tents have taller walls and more poles. Check your tent’s instructions for its specific order.
| Tent type | How it sets up | Good to know |
|---|---|---|
| Dome | Two or more crossing poles, clips or sleeves | Freestanding, easy for beginners |
| Tunnel | Parallel hoop poles, staked at both ends | Needs staking to stand, good in steady wind if pitched end on |
| Instant or pop-up | Poles pre-attached, extend or unfold | Fast to pitch, often bulkier to carry |
| Cabin | Several poles, near-vertical walls | Roomy for families, more surface for wind to catch |
| Backpacking trekking pole tent | Uses trekking poles instead of tent poles | Light, needs careful staking |
If you are still deciding which style suits you, our guide on how to choose a camping tent explains the trade-offs.
How do you set up a tent in wind or rain?
In wind, stake the windward side of the tent first, keep at least one corner attached to the ground at all times, and point the narrowest, lowest end toward the wind. In rain, pitch the fly first if your tent allows it, or set up as quickly as you can and keep the inside zipped closed.
Wind tips
- Stake the tent body before inserting poles, so it cannot blow away.
- Face the door away from the wind.
- Use every guyline and stake.
- Add rocks on top of stakes in loose ground for extra hold.
Rain tips
- Keep the tent and fly packed until the last moment.
- If your tent supports a fly-first pitch, use it.
- Wipe the floor with a small towel if water gets in.
- Store wet gear in the vestibule, not inside the sleeping area.
A tight, well-pitched tent is also warmer. For more on keeping heat in at night, see our guide on how to stay warm while camping.
How do you take down and pack a tent?
Take down a tent by removing your gear, unzipping doors partway, then unstaking guylines, removing the rainfly, unclipping or sliding out the poles and pulling the stakes last. Fold the poles from the middle so the shock cord is not overstretched. Shake out dirt, then roll or stuff the tent into its bag.
- Remove the fly first and shake off water or dew.
- Push poles out of sleeves rather than pulling them.
- Count stakes before you leave the site.
- Pack a wet tent only if you must, and dry it fully within a day or two at home.
- Store the tent loosely in a dry place rather than tightly compressed for long periods.
What are common tent setup mistakes?
Common tent setup mistakes include pitching on a slope or in a low spot, leaving the footprint sticking out, skipping guylines, letting the fly touch the inner tent, forcing poles and packing the tent away wet. Most come from rushing, so give yourself enough daylight and time to set up carefully.
- Arriving after dark. Setting up by headlamp is harder and leads to missed steps.
- No test pitch. Missing parts are easier to sort out at home.
- Footprint too big. Rain collects on it and runs under the tent.
- Loose fly. A sagging fly flaps, leaks and adds condensation.
- Ignoring wind. A door facing the wind lets gusts fill the tent like a sail.
For a full list of what to bring on your first trip, use our first-time camping checklist.
Frequently asked questions
How long does it take to set up a tent?
Setup time depends on the tent and your experience. A simple dome tent often goes up fairly quickly once you know it, while large cabin tents take longer and may need two people. Your first attempt will be the slowest, which is why a practice pitch at home before the trip helps so much.
Do you need a footprint under a tent?
A footprint is not always required, but it protects the tent floor from abrasion and moisture and can extend the life of your tent. Make sure it is slightly smaller than the floor so rain cannot collect on it. A cut-to-size tarp or groundsheet works as a lower-cost alternative.
Can one person set up a tent alone?
Yes. Most small and medium dome tents are designed so one person can set them up. Lay out the tent, stake one or two corners to keep it in place, then attach the poles and raise it. Larger cabin and family tents are easier with two people, especially in wind.
Why is there water inside my tent when it did not rain?
Water inside a tent on a dry night is usually condensation from your breath and body heat. Reduce it by opening the vents, keeping the rainfly taut and away from the inner tent, and storing wet gear outside the sleeping area. Choosing a site with some airflow also helps.
Sources and further reading
- National Park Service for campground rules and conditions
- Leave No Trace for low-impact camping guidance
Your next step: put your tent skills into a full trip plan with our complete guide to camping for beginners.
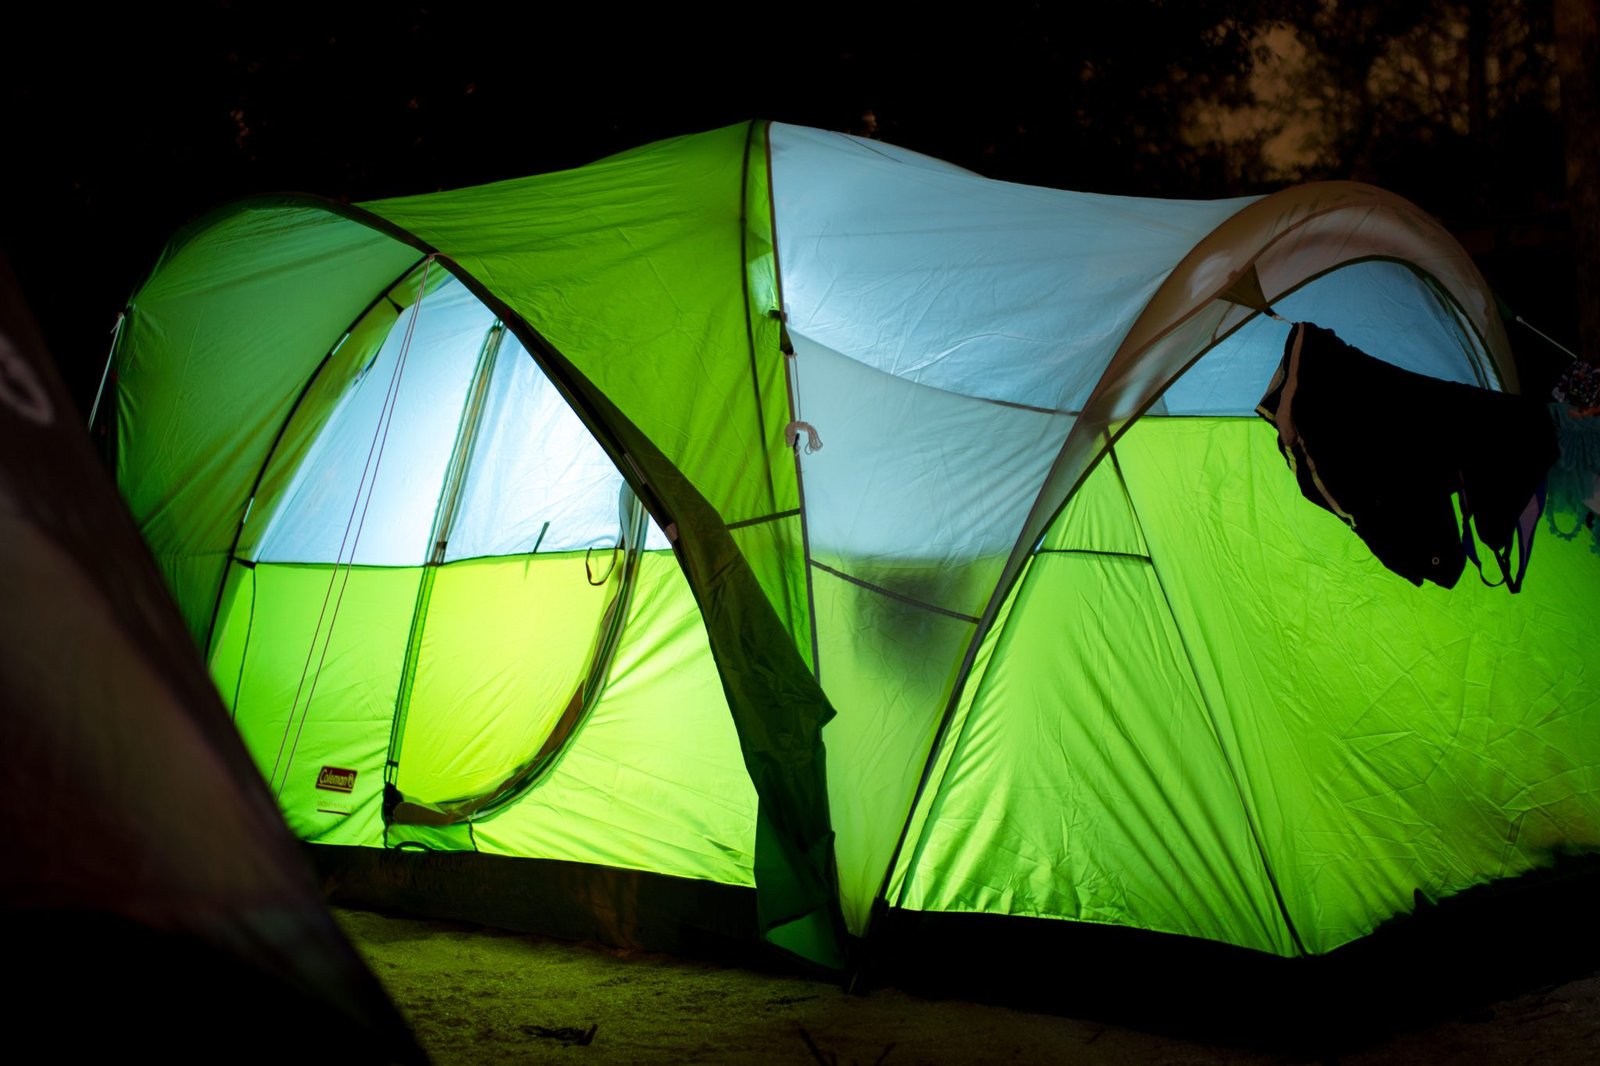
Featured photo: mdburnette via Openverse (CC0).