On this page
To choose trekking poles, start with how you will use them, then compare length adjustment, locking mechanism, shaft material, grip and weight. Most hikers do well with adjustable aluminum or carbon poles that lock securely, fit your height with the elbow at about a right angle, and have comfortable grips and replaceable tips.
Trekking poles look simple, but small design choices change how they feel on a long descent or a rocky climb. This buying guide explains each feature in plain terms, so you can compare poles in a store or online and pick a pair that suits your hiking, your height and your budget.
Key takeaways
- Decide your main use first: day hikes, backpacking, steep mountain terrain, travel or supporting a trekking pole tent.
- Adjustable poles suit most hikers because you can shorten them for climbs, lengthen them for descents and pack them away.
- Lever or clamp locks are generally easier to tighten and check than older twist locks.
- Aluminum shafts tend to bend before breaking, while carbon shafts are lighter and stiffer but can snap under a sharp side load.
- Grip material, strap comfort and replaceable tips matter more on long days than small differences in weight.
What are trekking poles and do you need them?
Trekking poles are lightweight walking poles that give you extra points of contact with the ground. They help with balance on uneven terrain, spread effort to your arms on climbs, reduce strain on knees and legs on descents, and steady you on stream crossings. Many hikers find them most helpful on steep, rocky or long trails.
You do not need trekking poles for every walk. On flat, smooth paths they may feel like extra things to carry. They earn their place when:
- Trails are steep, loose or rocky, especially on the way down.
- You carry a heavier pack on multi-day trips.
- You cross streams, snow patches or muddy sections.
- You want extra stability because of past injuries or balance concerns.
- You use a shelter that is pitched with trekking poles instead of tent poles.
If you are still putting together your first set of gear, our essential camping gear buying guide shows where poles fit alongside shelter, sleep and cooking kit.
What types of trekking poles are there?
The main types of trekking poles are telescoping adjustable poles, folding poles and fixed-length poles. Telescoping poles slide in sections to adjust length, folding poles collapse into short segments joined by an inner cord, and fixed-length poles cannot be adjusted. Each type trades adjustability, packed size and simplicity in different ways.
| Type | How it works | Strengths | Trade-offs |
|---|---|---|---|
| Telescoping adjustable | Two or three sections slide and lock | Easy to adjust on the trail, widely available | Longer when packed than folding poles |
| Folding (fixed or adjustable) | Sections fold like tent poles on an inner cord | Very compact, quick to deploy | Less adjustment range, can be less sturdy |
| Fixed length | One solid length, sometimes in sections | Simple and often light | No adjustment for terrain or sharing |
For most hikers, telescoping or adjustable folding poles are the safest bet. Adjustability lets you fine tune length for climbs and descents and makes it easier to share poles between people of different heights. Fixed-length poles appeal mainly to experienced hikers who know exactly the length they want.
How do you size trekking poles for your height?
Size trekking poles by standing upright in your hiking shoes, holding the grip with the pole tip on the ground near your foot, and adjusting until your elbow bends at roughly a right angle. That position is a good starting length for flat ground. Shorten the poles a little for climbs and lengthen them for long descents.
Sizing charts that link pole length to height can help when shopping online, but the elbow test is more reliable because arm length and posture vary. Use these steps:
- Put on the shoes you hike in, since they change your height slightly.
- Stand on a flat floor and hold the pole with the tip near the side of your foot.
- Adjust the length until your forearm is roughly level with the ground.
- Note the length marking on the shaft, so you can return to it quickly.
- On a climb, shorten each pole a little so you are not lifting your hands high.
- On a long descent, lengthen each pole so you can plant it ahead without leaning forward.
If you are buying fixed-length or folding poles with a small range, check that your starting length sits near the middle of the range, so you still have room to adjust.
Tip: Mark your flat-ground length with a small piece of tape on each shaft. It makes resetting poles quick after a climb or when someone borrows them.
Which locking mechanism is best on trekking poles?
The locking mechanism holds each section at the length you choose. External lever or clamp locks are the most common today because they are easy to see, tighten and adjust with gloves. Twist locks are slimmer but can slip if dirty or under tightened. Push-button locks on folding poles are quick but usually allow less fine adjustment.
Compare them like this:
| Lock type | Strengths | Watch out for |
|---|---|---|
| Lever or clamp lock | Easy to check, adjustable tension, works with gloves | Can loosen over time and need a small adjustment |
| Twist lock | Slim profile, few external parts | Can slip if wet, dirty or not tightened fully |
| Push-button or pin lock | Fast to deploy on folding poles | Fixed positions or limited range |
Whatever lock you choose, test it before you buy. Set the length, close the lock and lean firmly on the pole. It should not slide. Many lever locks have a small screw to adjust tension, and checking this before each trip is a good habit.
Aluminum vs carbon trekking poles: which is better?
Aluminum trekking poles are usually more durable and tend to bend rather than snap, which makes them a sensible choice for rough terrain and heavy use. Carbon poles are lighter and feel stiffer and less vibrating, which many hikers like on long days, but they can break under a sharp side impact or if wedged between rocks.
Think about these trade-offs:
- Durability: Aluminum is more forgiving if you trap a pole between rocks or put sudden weight on it.
- Weight: Carbon saves weight, which you notice when swinging poles for many hours.
- Vibration: Carbon tends to dampen trail buzz more than aluminum.
- Cold weather: Both work, though some hikers find carbon less cold to handle with bare hands.
- Field repair: A bent aluminum section can sometimes be used carefully until you get home. A broken carbon section usually cannot.
There is no single right answer. If you hike rocky, steep terrain or you are hard on gear, aluminum is a safe choice. If saving weight on long trails is your priority and you are careful with placement, carbon makes sense. Our guide on how to read outdoor gear specs explains how to compare listed weights and materials fairly.
What grip and strap should you choose?
Choose a trekking pole grip based on how much your hands sweat, the temperatures you hike in and how long you use poles each day. Cork molds to your hand and handles sweat well, foam is soft and light, and rubber suits cold or wet conditions but can rub on hot days. A comfortable, adjustable strap matters just as much.
| Grip material | Feels like | Best for |
|---|---|---|
| Cork | Firm, molds to your hand over time | Warm weather, sweaty hands, long days |
| Foam | Soft and light | General hiking, warm to mild weather |
| Rubber | Grippy, insulates | Cold and wet conditions, winter use |
Also look at these details:
- Extended grip: A foam section below the main grip lets you hold the pole lower on short climbs or traverses without adjusting length.
- Strap padding: A soft, adjustable strap reduces rubbing on your wrist.
- Strap use: Bring your hand up through the strap from below, then grip the handle with the strap across your palm, so the strap takes some of the load.
- Grip shape: Some grips are angled slightly forward. Try them if you can, since hand shape varies.
What tips and baskets do trekking poles need?
Trekking poles usually come with hard carbide tips for grip on rock, dirt and ice, plus removable baskets that stop the pole sinking into mud, sand or snow. Rubber tip covers protect the tip and reduce noise and wear on paved paths and rock. Replaceable tips and standard baskets make poles easier to maintain.
Use them like this:
- Carbide tips: Best for most trails, including rocky ground.
- Rubber covers: Useful on pavement, boardwalks and in places that ask hikers to reduce wear on rock.
- Small trekking baskets: General use, reduce sinking in soft ground.
- Large snow baskets: For deep snow in winter.
Check that replacement tips and baskets are available for the poles you buy. A worn tip loses grip on rock, and a lost basket is a common trail casualty.
How much do trekking pole weight and packed length matter?
Trekking pole weight matters most on long days, because you lift and swing each pole thousands of times, so even small savings add up. Packed length matters when you want to strap poles to a pack, store them in luggage or carry them on a trip where you will not use them every day. Folding poles usually pack shortest.
Use this checklist when comparing:
- Compare weight per pair, since listings can quote one pole or two.
- Check the collapsed length if you plan to carry poles on your pack or in a bag.
- Decide whether packed size or adjustability matters more for your trips.
- Consider shock absorption features, which some hikers like on descents but which add a little weight.
- Confirm the poles still feel sturdy when you lean on them at full length.
For travel, check airline and security rules on carrying trekking poles before you fly, because they change and vary by country. In the US, the TSA website lists current guidance. Packing poles in checked luggage avoids most questions.
Do you need trekking poles for a trekking pole tent?
If you use a trekking pole tent, your poles become part of your shelter, so they need to reach the height the tent calls for and lock firmly enough to hold that length overnight. Adjustable poles are the usual choice. Check the tent’s pitching instructions for the required pole length before you buy either item.
A few tips for pole-supported shelters:
- Confirm the adjustment range covers the pitch height the tent needs.
- Look for locks that hold firmly under a downward load overnight.
- Use rubber tip covers or a small cap to protect the tent fabric where the tip sits.
- Practice pitching at home so you know the right length.
These shelters are often non-freestanding, meaning they need stakes and guylines to stand. Our guide to freestanding vs non-freestanding tents explains how that affects campsite choice and setup.
Common mistakes when choosing trekking poles
The most common mistakes are choosing poles that are too long or short for your height, buying poles with locks that are hard to tighten, picking carbon for terrain where durability matters more, and ignoring grip comfort. Another frequent mistake is using the poles at one fixed length all day instead of adjusting for climbs and descents.
Avoid these:
- Skipping the elbow test: A pole that feels fine in a store can tire your shoulders on a long climb if it is too long.
- Overlooking lock tension: A pole that slips under weight can lead to a fall.
- Ignoring packed length: Poles that do not fit on your pack or in your bag tend to stay at home.
- Not checking replacement parts: Tips and baskets wear out and get lost.
- Leaning hard on poles at awkward angles: This is when shafts bend or break.
Poles are one part of a safe kit. Pair them with good footwear, and if you are choosing boots at the same time, read how to choose hiking boots.
How do you care for trekking poles?
Care for trekking poles by drying and opening them fully after wet hikes, cleaning dirt out of locks and sections, checking lock tension before each trip, and replacing worn tips and baskets. Store them dry and with the locks released, so moisture does not sit inside the shafts and the locks are not under tension.
After each trip:
- Extend or separate the sections and wipe them clean.
- Let them dry fully before storing.
- Check lever locks and adjust tension if needed.
- Inspect tips, baskets and straps for wear.
- Store poles in a dry place, ideally with other gear you keep for hiking.
For more on keeping kit in good shape between outings, see our guide on how to store outdoor gear between trips. If you are building out the rest of your kit, our guides on how to choose a headlamp, how to choose a water filter for hiking and how to choose a camping stove use the same feature-by-feature approach. Packing for a drive-in trip instead? Our car camping checklist shows what to bring when weight matters less.
Frequently asked questions
Should you use one or two trekking poles?
Two trekking poles give more balance and spread effort evenly between your arms, which helps on steep climbs, descents and stream crossings. One pole is lighter and leaves a hand free, which some walkers prefer on easier trails. If you are unsure, two adjustable poles give you the most flexibility.
Are trekking poles worth it for beginners?
Trekking poles can be worth it for beginners who hike hills, carry a pack or want extra stability on uneven ground. They help with balance and reduce strain on descents. On flat, smooth trails they matter less. Try a borrowed or rented pair on a hilly route to see whether you like them.
How long should trekking poles be?
Trekking poles should be long enough that your elbow bends at about a right angle when you hold the grip with the tip on the ground near your foot. Use that as your flat-ground length. Shorten the poles a little for climbs and lengthen them for long descents, then adjust as you go.
Can you take trekking poles on a plane?
Rules on trekking poles in carry-on bags vary by country, airline and security agency, and they can change. Many travelers pack poles in checked luggage to avoid problems. In the US, check the TSA website before you fly, and look up your airline’s baggage policy for other routes.
Sources and further reading
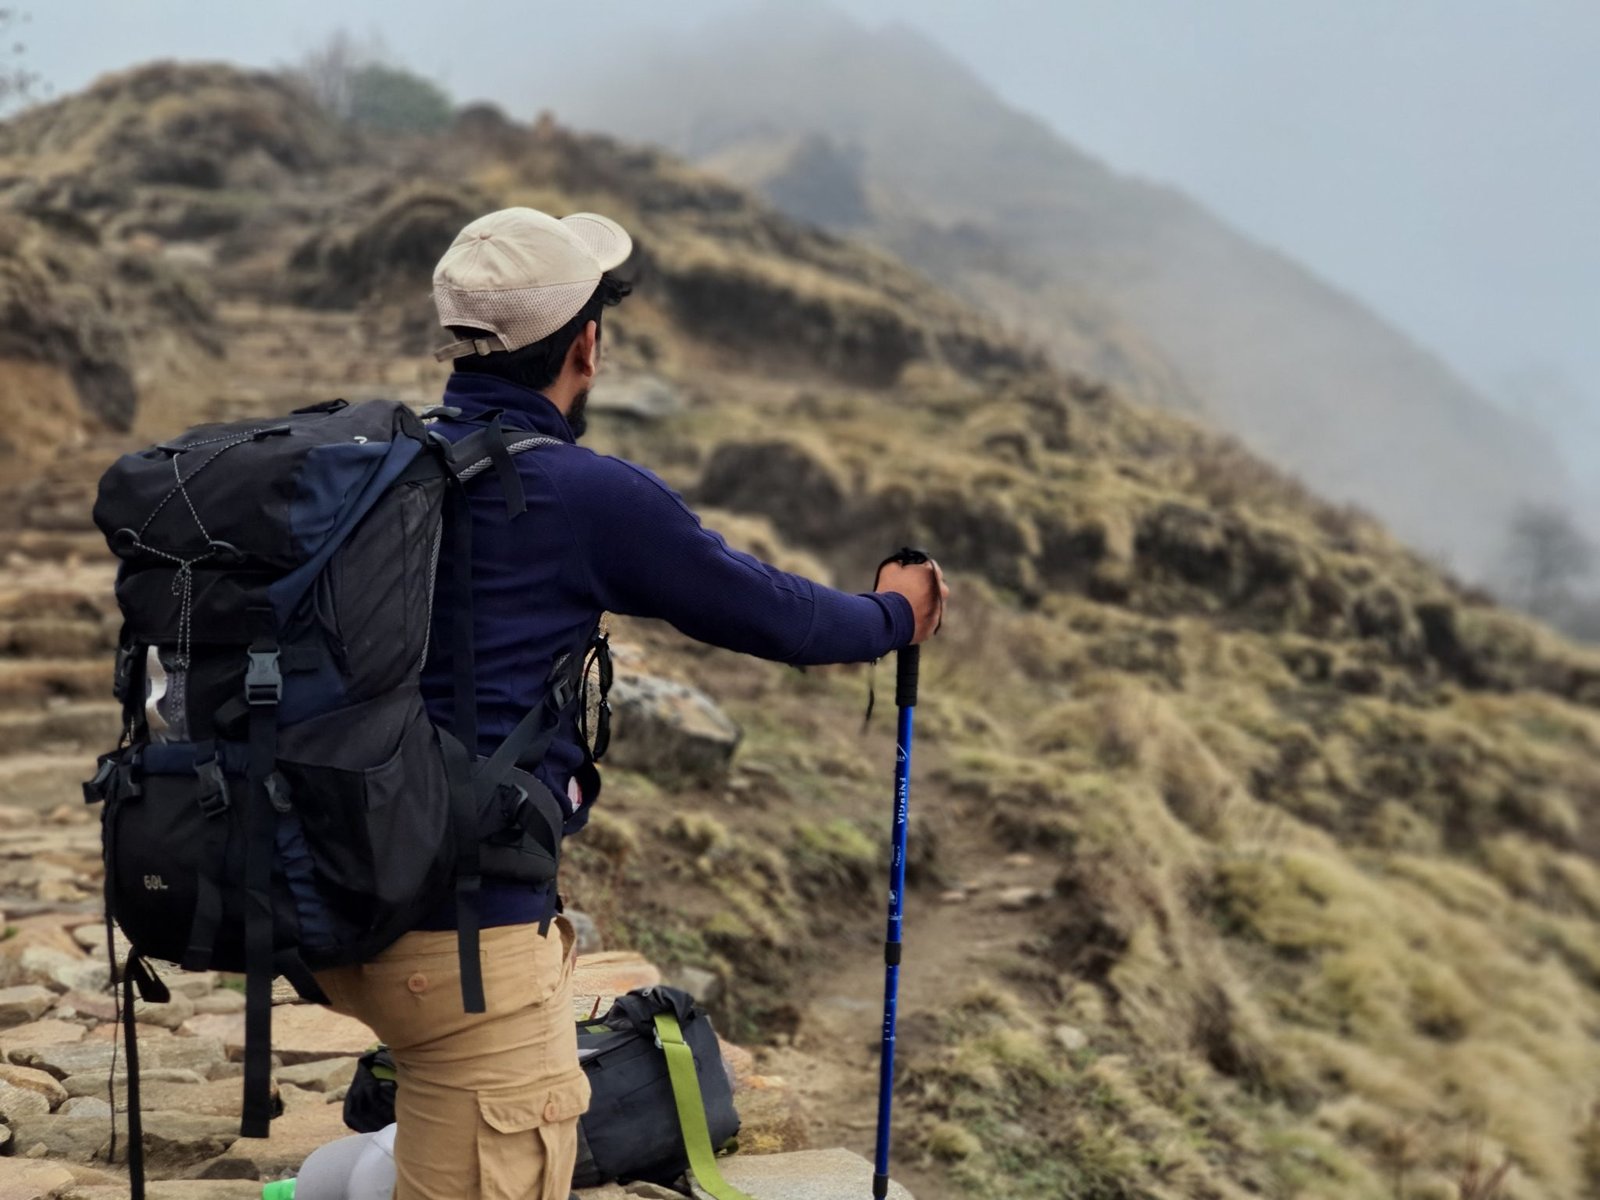
Featured photo: Prashant Sinkhwal via Openverse (CC0).