On this page
To cross a stream safely, first decide whether you should cross at all. Scout for a wide, shallow, slow section with no hazards downstream, unbuckle your pack’s hip belt and chest strap, keep your shoes on, and use trekking poles or a sturdy stick. Face upstream, move one step at a time, and turn back if the water looks too fast or deep.
Stream crossings are one of the most underestimated hazards on the trail. Water that looks calm can push hard against your legs, rocks can be slippery, and cold water can chill you quickly. The good news is that most crossings on popular trails are simple when you follow a careful routine. This guide gives conservative, mainstream advice for beginners. Always follow posted guidance from the land manager, such as the National Park Service, for the area you are hiking.
Key takeaways
- The safest crossing is sometimes no crossing: if the water is fast, deep or rising, wait or turn back.
- Look for a wide, shallow, slow section with a safe runout downstream, away from logs, rapids and drops.
- Unbuckle your hip belt and chest strap so you can shed your pack if you fall.
- Keep shoes on for grip and protection, and use poles or a sturdy stick for balance.
- Face upstream, shuffle sideways and keep two points of contact with the streambed.
- Snowmelt and rain can raise water levels quickly, so check conditions and timing before your hike.
What are the steps to cross a stream safely?
The steps to cross a stream safely are: check conditions before your hike, stop and assess the water, scout for the best crossing point, prepare your pack and footwear, use poles for support, cross facing upstream with small steps, and dry off and warm up on the far side. Taking time at each step prevents most accidents.
- Check trail reports, weather forecasts and recent rain before your hike.
- Stop at the bank and decide whether the crossing looks safe.
- Scout upstream and downstream for the best crossing point.
- Unbuckle your hip belt and chest strap and secure loose items.
- Keep your shoes on, and grab trekking poles or a sturdy stick.
- Cross facing upstream, moving one foot or pole at a time.
- Regroup on the far side, dry off and warm up if needed.
Each step is explained below.
Step 1: How do you check stream conditions before a hike?
Checking stream conditions before a hike means reading trail reports, looking at the weather forecast and asking rangers about recent rain or snowmelt. Streams can rise quickly after storms or on warm days in snowmelt season. Knowing what to expect lets you plan a different route, an earlier start or a turnaround point before you reach the water.
Things to check:
- Recent and forecast rain in the area and upstream, using weather.gov in the US.
- Flash flood watches or warnings, especially in canyons and desert areas.
- Snowmelt season, when streams fed by snow or glaciers often run higher later in the day.
- Ranger station or visitor center updates about bridges and crossings.
- Trail descriptions that mention fords or crossings.
Our guide on how to read weather signs outdoors explains clues to watch for once you are on the trail. Mark known crossings on your map too, and learn the basics in basic navigation with map and compass for beginners, so you can find alternatives if a crossing is unsafe.
Step 2: How do you decide whether a stream is safe to cross?
Deciding whether a stream is safe to cross means judging its speed, depth, temperature and what lies downstream. Fast water is more dangerous than it looks, even when shallow. If the water is moving quickly above your knees, is murky so you cannot see the bottom, or is rising, it is usually safest to wait or turn back.
Warning signs that mean do not cross:
- The water is fast, loud and full of standing waves.
- You cannot see the bottom.
- The water is above knee height and moving quickly.
- Debris, branches or logs are floating past.
- The level is rising, or the water is muddy after rain.
- There are rapids, waterfalls, steep drops or fallen trees just downstream.
- You or anyone in your group feels unsure or scared.
| What you see | What it may mean | Safer choice |
|---|---|---|
| Clear, slow, shin deep water | Usually manageable with care | Cross with poles, facing upstream |
| Fast water at knee height | Strong force on legs | Look for a better spot or wait |
| Muddy, rising water | Recent rain, possible flooding | Do not cross, move to high ground |
| Logs or rapids downstream | Serious danger if you fall | Find another crossing or turn back |
| Snowmelt stream in afternoon | Flow may be higher than morning | Wait or cross early next day |
A simple test is to throw a stick into the water and watch how fast it moves. If it races away faster than you can walk, think hard before crossing.
Tip: Agree on a turnaround rule before your hike, such as “if any of us feels unsure at a crossing, we all turn back.” It removes pressure to keep going.
Step 3: How do you choose the best place to cross a stream?
The best place to cross a stream is usually where it is widest, because water spreads out and slows down there. Look for an even, gravel or small rock bottom, gentle banks on both sides and a calm, open stretch downstream with no hazards. Avoid narrow channels, bends and spots just above rapids, logs or drops.
Scouting tips:
- Walk a short distance upstream and downstream before committing.
- Look for braided sections, where a stream splits into several smaller channels.
- Pick a spot where you can see the exit on the far bank.
- Check that the downstream area would let you get out if you slipped.
- Avoid crossing on logs or slick rocks unless they are stable, wide and low, and a fall would be safe.
The obvious crossing point where the trail meets the water is not always the safest. Conditions change from season to season.
Step 4: How do you prepare your pack and gear for a stream crossing?
Preparing your pack and gear for a stream crossing means unbuckling the hip belt and loosening or unclipping the chest strap so you can slip out of the pack if you fall. Secure loose items, put electronics and spare clothes in waterproof bags, and stow anything you would hate to lose in the water.
Preparation checklist:
- Unbuckle the hip belt and chest strap.
- Loosen shoulder straps slightly so the pack sits lower and can come off.
- Put your phone, map and spare layers in waterproof bags.
- Clip or stow loose items such as water bottles and sunglasses.
- Remove long pants or roll them up if you want to keep them dry.
- Extend trekking poles and remove the wrist straps so a pole cannot drag you.
Should you keep your shoes on to cross a stream?
Yes, keep shoes on to cross a stream. Bare feet are easily cut or bruised and slip more on rocks. Many hikers wear their trail shoes and accept wet feet, or change into water shoes or sandals with secure straps. Our comparison of hiking boots vs. trail shoes explains which dry faster after a crossing.
Step 5: How do you use trekking poles to cross a stream?
Using trekking poles to cross a stream gives you extra points of contact for balance against the current. Plant a pole upstream, move one foot, then the other pole, so you always have at least two points firmly on the bottom. If you do not have poles, a sturdy stick works. Keep wrist straps off.
Pole technique:
- Plant the pole on the upstream side to brace against the flow.
- Lean slightly into the pole, not away from the current.
- Move only one point at a time: a foot or a pole.
- Test each step before putting weight on it.
- Keep steps small and feet about shoulder width apart.
Step 6: What is the safest way to walk across a stream?
The safest way to walk across a stream is to face upstream and move sideways in small, shuffling steps, keeping your feet wide and your weight low. Lean slightly into the current, use poles for support and test each step before committing. Keep your eyes on the far bank or your next step, not on the moving water.
Crossing as a group
Groups can cross more safely by working together. Common methods include:
- Line method: People stand in a line parallel to the current, holding each other’s pack straps, with the strongest person upstream to break the flow.
- Triangle or huddle: Three or more people link arms and move as one, each with a stable base.
- One at a time with a spotter: Others wait on the bank, ready to help, and point out hazards.
Decide on the method and roles before you step in. Children and less confident hikers should stay close to a strong adult, or not cross if conditions are doubtful.
What should you do if you fall in a stream?
If you fall in a stream, get out of your pack if it is dragging you, roll onto your back with your feet pointing downstream and near the surface, and use your arms to steer toward shore at an angle. Do not try to stand in fast water, because a foot can get trapped between rocks. Get out where the current slows.
Step 7: What should you do after crossing a stream?
After crossing a stream, regroup, check that everyone is safe and warm, and dry off if you are wet. Change into dry socks or layers if needed, eat a snack and drink water. Cold water can chill you quickly, so move on promptly to warm up, or stop to put on a warm layer before continuing.
After crossing checklist:
- Count heads and confirm everyone has their gear.
- Drain water from shoes and wring out socks.
- Change into dry socks or layers if you have them.
- Eat and drink to help your body warm up.
- Check feet for blisters or cuts.
- Watch each other for signs of getting too cold.
Stream banks often have dense plants, so watch for irritating plants as you climb out; our guide on how to identify poison ivy, oak and sumac shows what to look for. Brushy banks can also harbor ticks, so do a quick check later using our guide on how to avoid ticks while hiking.
How does cold water affect stream crossings?
Cold water affects stream crossings by quickly numbing your feet and legs, which reduces balance and grip, and by chilling your whole body if you get soaked. Snowmelt and mountain streams can be very cold even in summer. Cross efficiently, warm up afterward and know the signs of hypothermia, such as shivering, confusion and clumsiness.
If anyone shows signs of hypothermia, stop, get them out of wind and wet clothing, add dry layers and warm them up. Seek emergency help if they become confused, very drowsy or stop shivering while still cold. Our guide on how to prevent hypothermia on the trail explains warning signs and what to do.
What gear helps with stream crossings?
Gear that helps with stream crossings includes trekking poles, shoes with good grip, quick-drying socks and clothing, waterproof bags for electronics and spare layers, and a warm layer to put on afterward. None of it replaces good judgment, but the right kit makes a safe crossing easier and helps you stay comfortable on the far side.
| Item | Why it helps |
|---|---|
| Trekking poles | Extra balance and support against the current |
| Shoes with grip, or strapped water shoes | Protect feet, reduce slips |
| Quick-drying socks and spare pair | Comfort and warmth after crossing |
| Waterproof bags or pack liner | Keep phone, map and layers dry |
| Warm layer | Helps you warm up after cold water |
| Map and navigation tools | Find alternative routes or crossings |
Many of these items overlap with the ten essentials that hikers carry. Our guide on the ten essentials for hiking explained covers the full list.
What are common stream crossing mistakes?
Common stream crossing mistakes include crossing fast or rising water, crossing at the first spot you reach without scouting, keeping the hip belt buckled, going barefoot and looking at the water instead of your footing. Many hikers also feel pressure to keep going. Slowing down, scouting and being willing to turn back prevent most accidents.
- Underestimating current. Shallow fast water can knock you down.
- No scouting. A better crossing may be a short walk away.
- Buckled pack. A trapped pack can hold you underwater.
- Bare feet. Increases the risk of cuts and slips.
- Crossing on slick logs. A fall from height into water is dangerous.
- Ignoring the downstream view. Logs, rapids and drops turn a slip into an emergency.
- Pressure to finish. Waiting or turning back is a valid choice.
Your next step: before your next hike, check your route for crossings on the map and review basic navigation with map and compass so you can plan a safe alternative if needed.
Frequently asked questions
How deep is too deep to cross a stream?
There is no single safe depth, because speed matters as much as depth. Fast water can be dangerous even below the knee. As a conservative rule, many hikers avoid crossing moving water above knee height, and any water they cannot see the bottom of. If you are unsure, wait for levels to drop or turn back.
Is it better to cross a stream in the morning?
For streams fed by snowmelt or glaciers, crossing in the morning is often safer, because warmer afternoons melt more snow and raise water levels. For rain-fed streams, timing depends on recent storms. Check local ranger advice, watch the weather and avoid crossing when water is rising or muddy, whatever the time of day.
Should you unbuckle your backpack when crossing a river?
Yes, unbuckle your hip belt and chest strap before crossing a river or stream, so you can get out of the pack quickly if you fall. A strapped-on pack can pull you under or pin you against rocks. Loosen the shoulder straps a little too, and keep important items in waterproof bags.
What should you do if a stream is too dangerous to cross?
If a stream is too dangerous to cross, do not attempt it. Look for a safer crossing upstream or downstream, wait for water levels to drop, or turn back the way you came. If you are stuck and in danger from rising water, move to high ground and call for emergency help if you have a signal.
Sources and further reading
- National Park Service: nps.gov for park-specific trail and river crossing advice.
- National Weather Service: weather.gov for forecasts and flood warnings.
- American Red Cross: redcross.org for first aid and water safety information.
Conditions change with weather and season. Always check with the local land manager before hiking routes that include stream or river crossings.
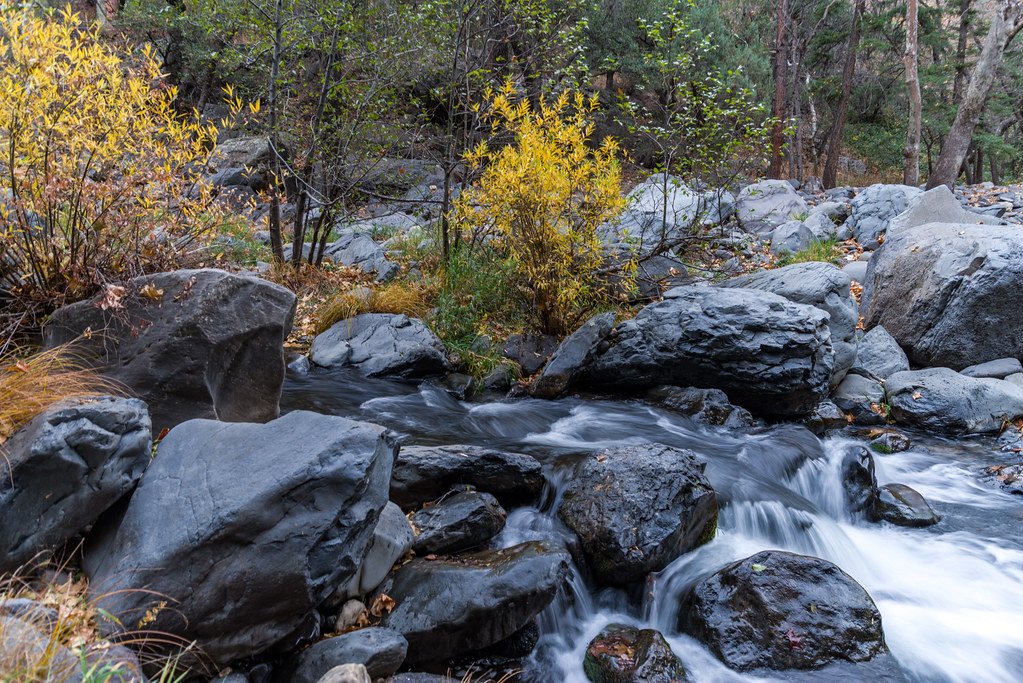
Featured photo: Coconino NF Photography via Openverse (CC0).